so, i'm finally getting around to some christmas present tutorials. i didn't want to give away any surprises before christmas, but now that everyone has gotten their gifts, i can reveal all my secrets.
as i mentioned before, i made everything by hand this year. i also resolved not to just make things for the sake of making them, but to actually consider what people would use, and try to give gifts that would contribute positively to people's lives.
as well, none of these gifts were really christmas-specific. they could be for a birthday, anniversary, etc - even just for your lovely self!
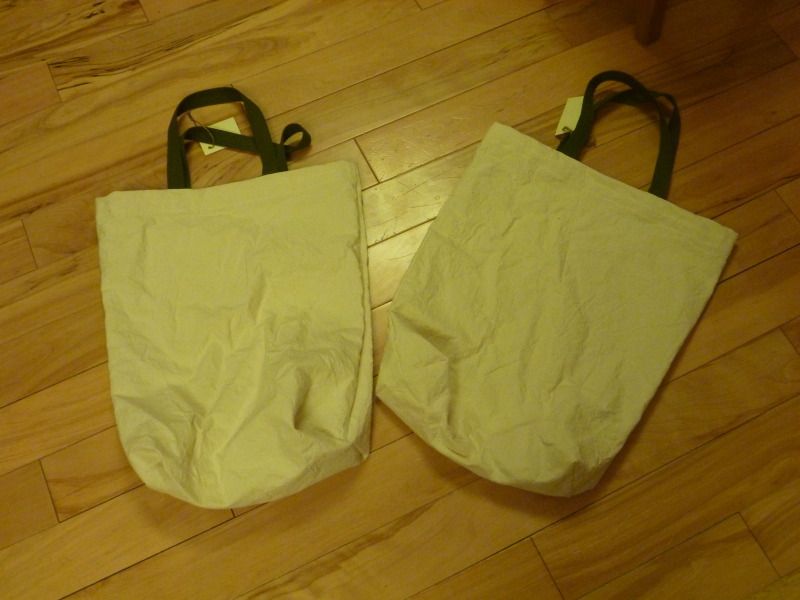
i think in the end i made about 15 of these bags, so in all it was a fairly time-consuming process, but totally worth it, and also something that people will use!
not only are these bags great for encouraging people to go reusable, but i also used them instead of wrapping paper! matt and i flew home for a christmas visit this year, and i just put every person (or couple)'s presents in their bag instead of wrapping them. we saved on paper, weight on the airplane and gave everyone beautiful, reusable bags!
decorating them will be a follow-up post!
there is this amazing fabric store in calgary where i bought my canvas, it was something like $6/m, but you can get canvas at most fabric stores. you could really use any fabric that is thick and fairly un-stretchy - like corduroy, denim, thick cotton, etc.
as well, i just cut the material in about 1/2 meter strips, but you can make your bags as large or small as you like!
things to consider - material: as i mentioned, you want to use tough material for shopping bags, you want them to last! pick something without much stretch, that is thick. make sure to take the time to wash and dry your material before sewing with it, it takes some extra time, but it's worth it because otherwise your creation may change shape after the first washing.
you will need - material (as much or as little as you like. for the bags i made, i used approx. 16x46" strip for each bag, and ended up with bags that were 10" wide by 17" long by 4" deep), scissors, pins, good quality thread that matches your canvas, sewing machine, a serger is great, but not totally necessary, straps for your bags. i used 1" strap, some that was cotton, some nylon, they are both good. i used 1 meter/bag, but depending on how long you want the straps you could use more or less.
here we go!
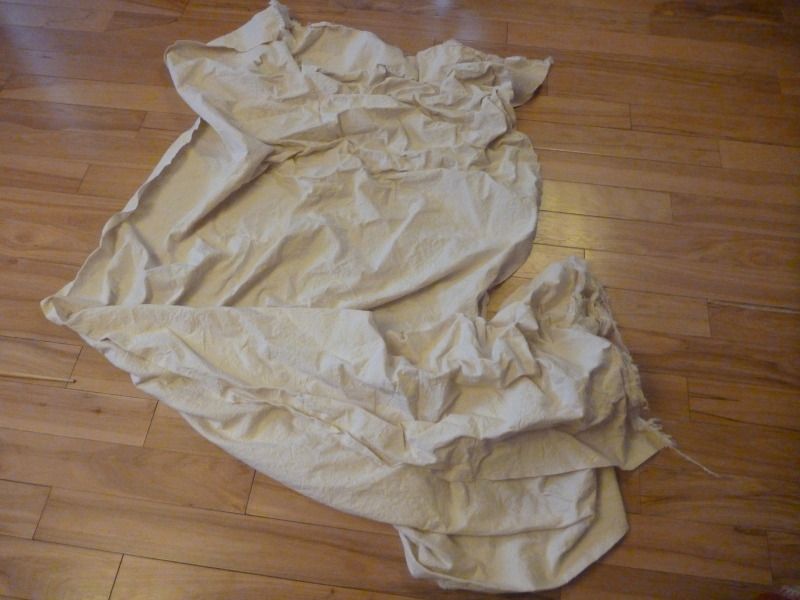
start with your fabric, washed and dried. as you can see, mine was a bit crumpled, so i took the time to iron it before i started.
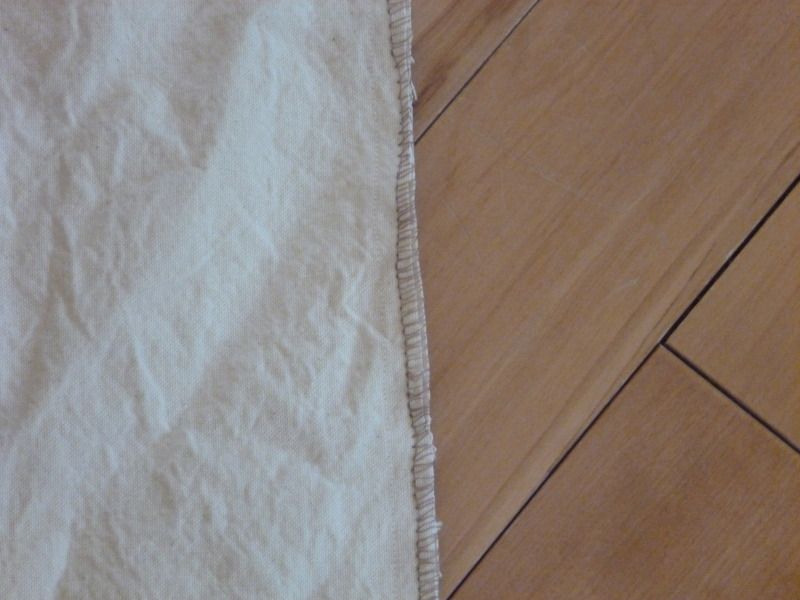
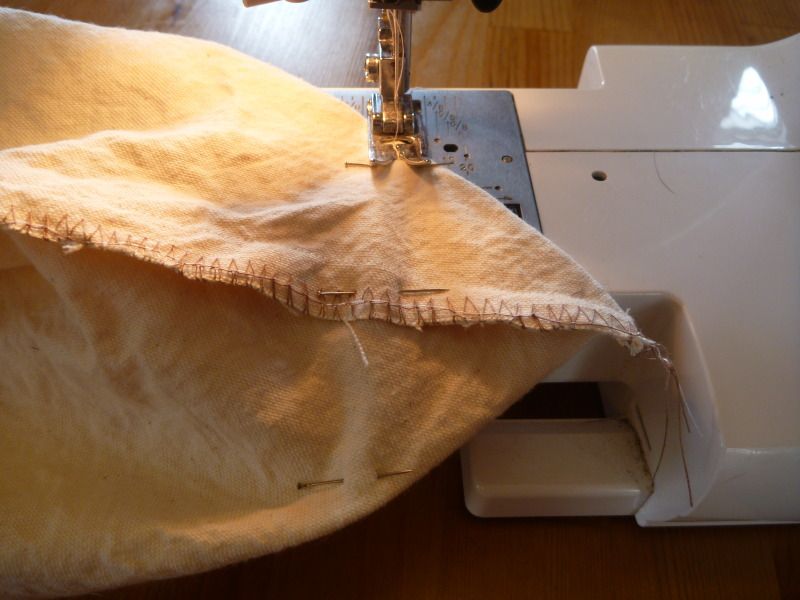
cut your strips. as i mentioned above, mine were about 16" wide, and 46" long. fold s trip in half to make a square 16" x 23", and pin along both 23" edges. sew those edges, leaving at least 1/2" on the outside of the seam.

if you have a serger, serge the edges. if not, sew a second line of straight stitching, and cut of the excess fabric.
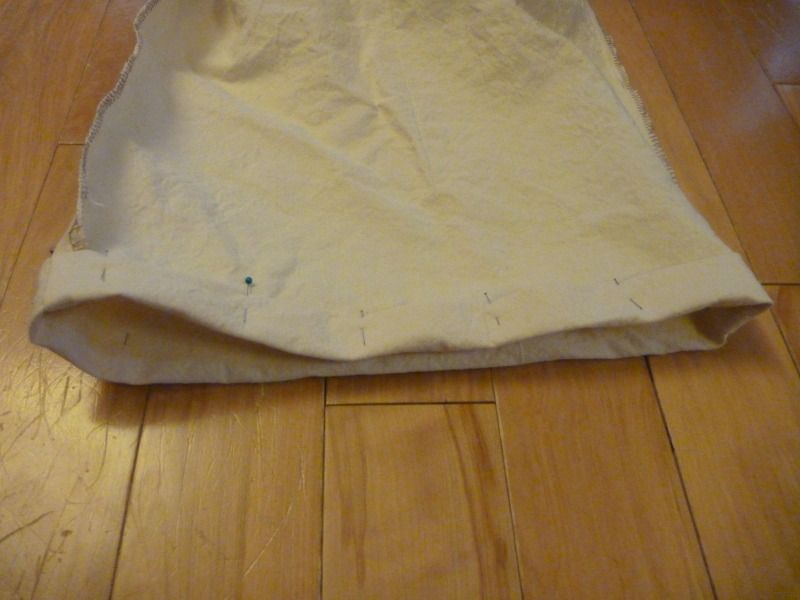
next, take one of the lower corners

and fold it like so:

and pin, as shown.
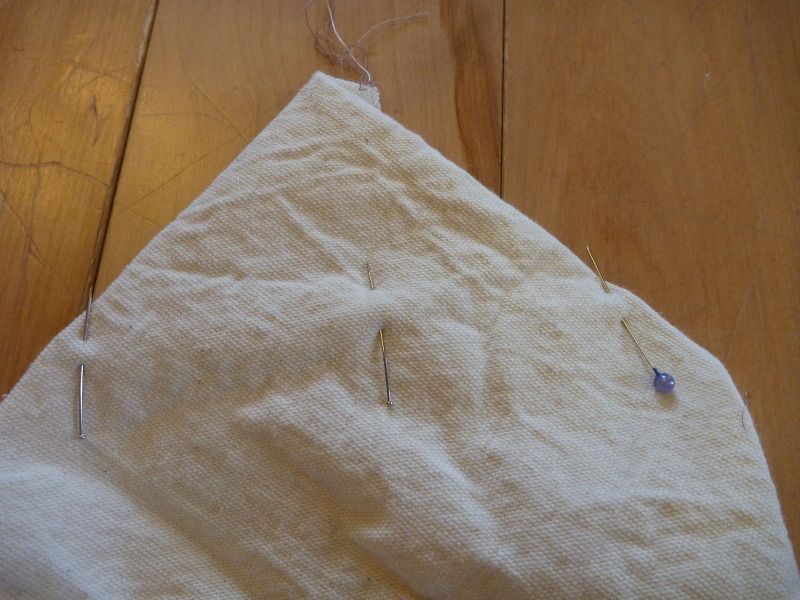
the distance across the bottom of the triangle in this case is 4", meaning i ended up with bags that were 4" deep. again, if you are making bigger or smaller bags, you may want to adjust this measurement.
sew across the bottom of the triangle.
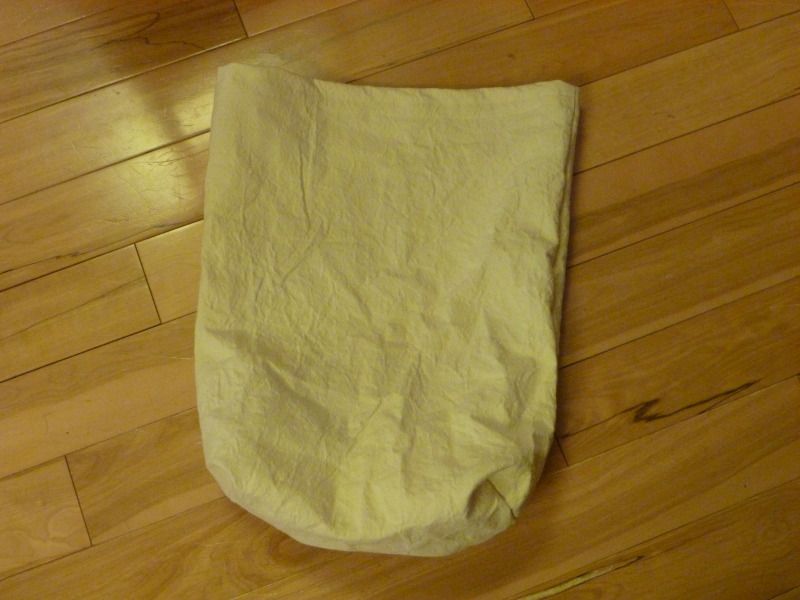
it will look like this!
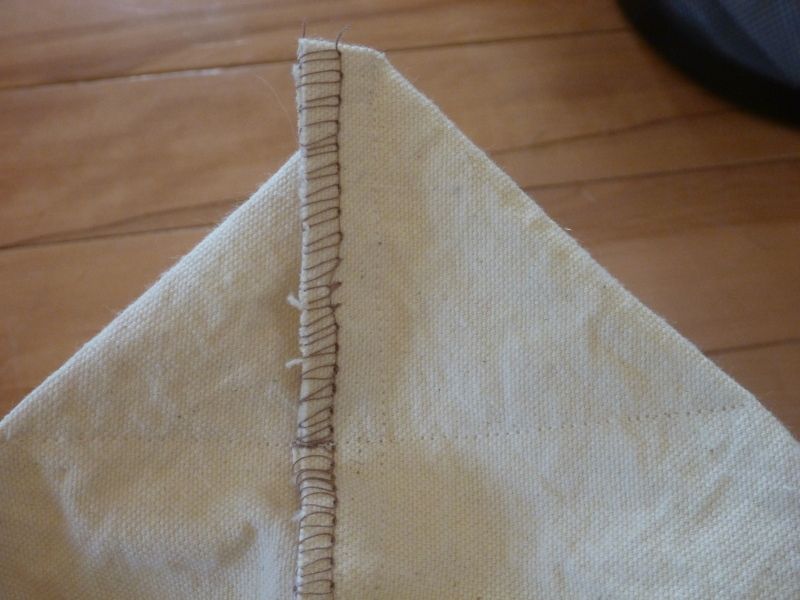
then, cut off the corner (so above the line of stitching in the above picture). leave enough room for a second line of sewing, or serging.

sew or serge the edge.
then repeat that process for the other bottom corner!
next, with the bag inside out, fold down the top once
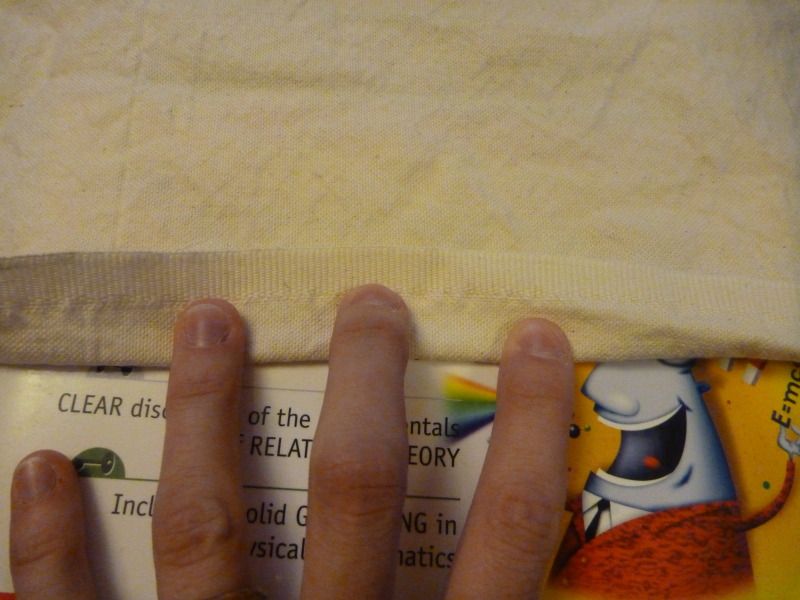
and again
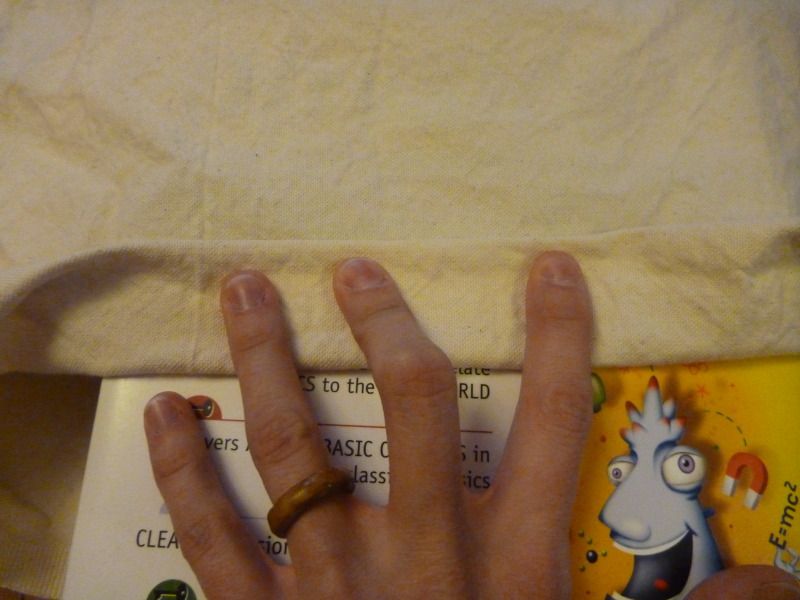
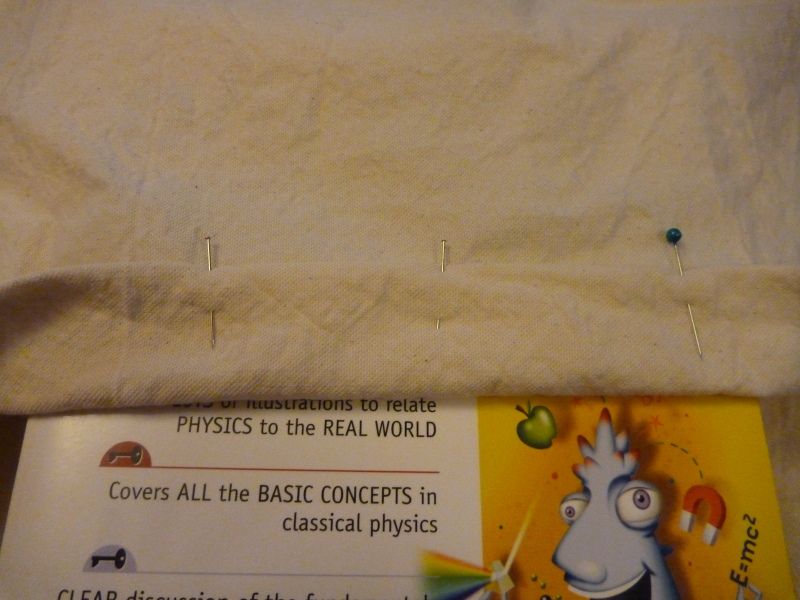
do this all the way around the top. i made the hem nice and wide, maybe 1 1/2", do give the bag extra stability. remember that this is where you will be attaching the straps, so you want it to be sturdy!

then another in the middle (for strength!)

once you have done that, the bag will be complete - now you just need to add straps!
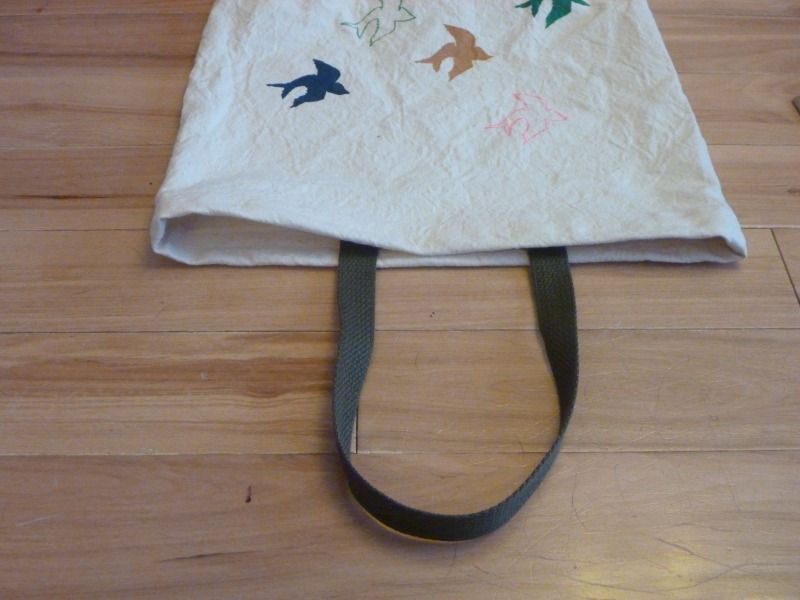
as i mentioned above, i used 1 m of strap for each bag. cut the 1 m in equal halves, and decide where you want the straps to attach. i just eyeballed where i thought it would look nice, then measured with a ruler so that i could be sure they'd all be the same - i attached them 5" in from the seam on each side.
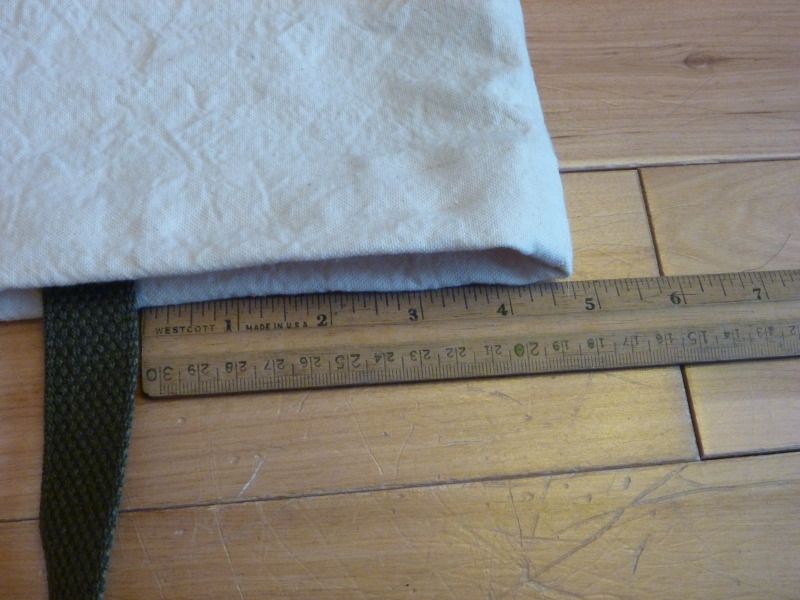
note how i folded the strap so that if you sling it over your shoulder it will sit flat.
(you'll notice this one is decorated, tutorial on that is forthcoming)
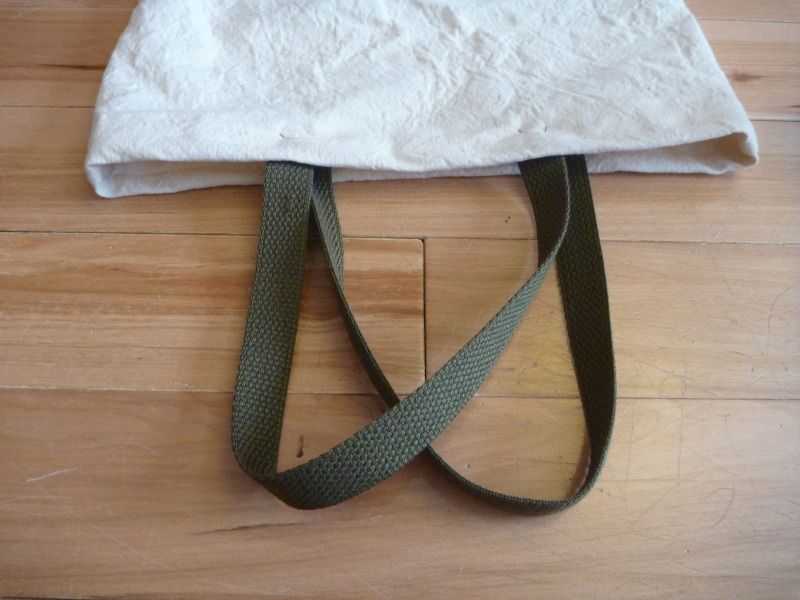
now that you know where you want the straps to sit, pin them on. i highly recommend folding the last 1/2" or so of the strap under before pinning - this will stop the end from fraying.

pin the straps on both sides, and make sure you're comfortable with the placement.
then sew the straps on. i recommend sewing all around the outside of the little square where the strap meets the canvas.
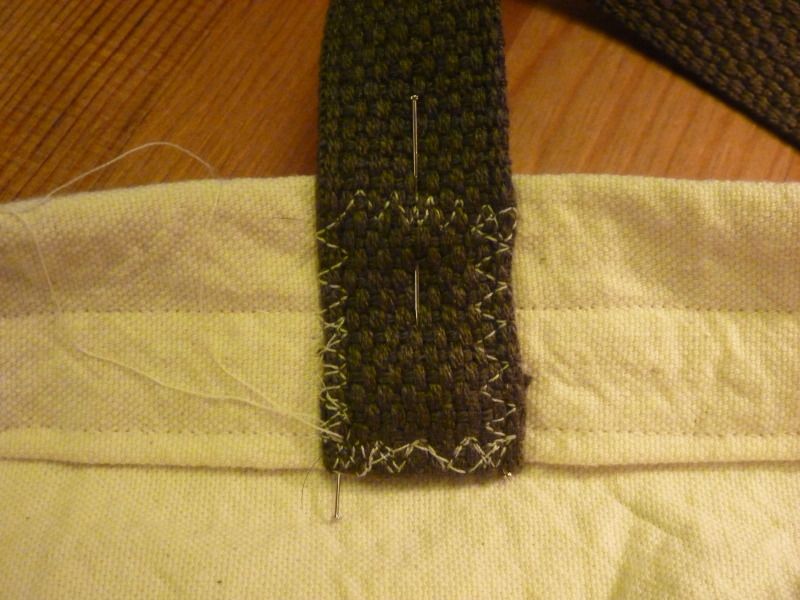
tie off the ends, and voila, done!
coming soon - printing funky designs on them!
No comments:
Post a Comment