these pants are a great project for someone who is new to sewing. they are quick and easy to make, and really hard to screw up!
a good friend brought back some pants like this from india, and
everyone i know fell in love with them. at first i just liked them
because they are comfortable, but they have become some of my favourite
pants.
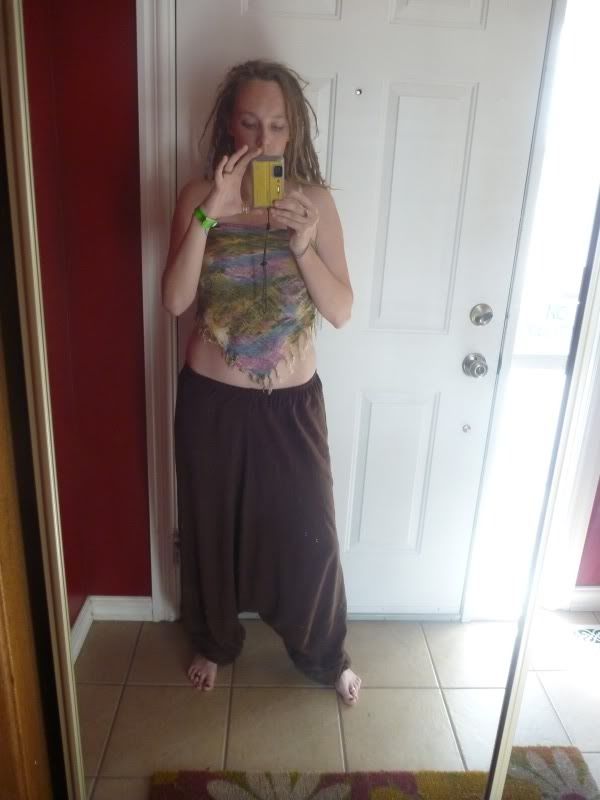
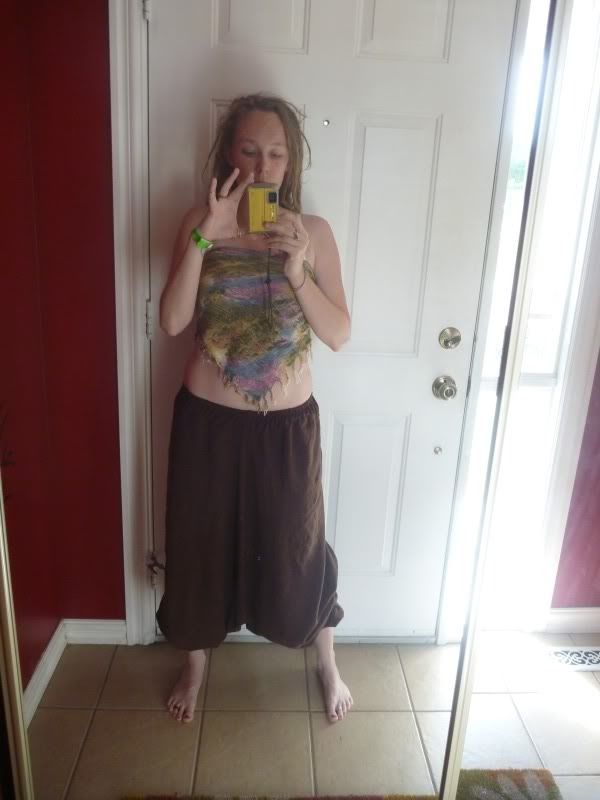
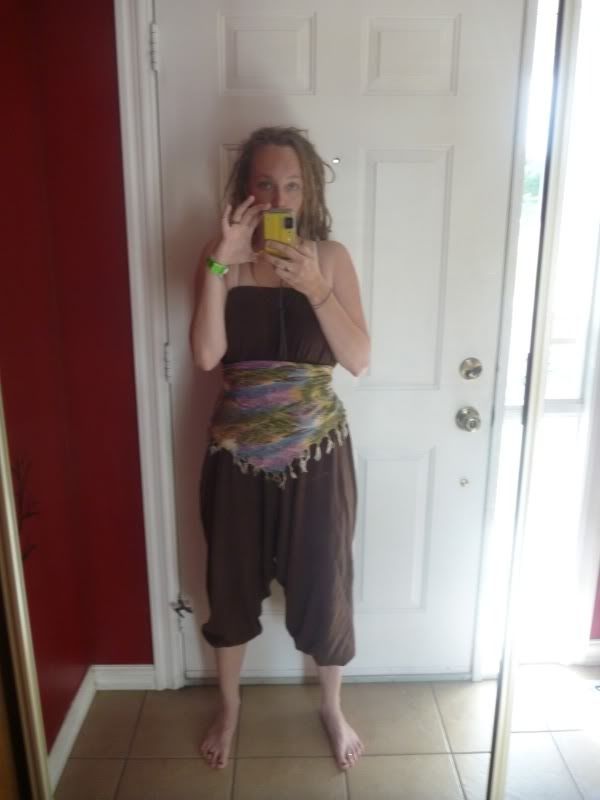
there are SO many ways you can wear them!!
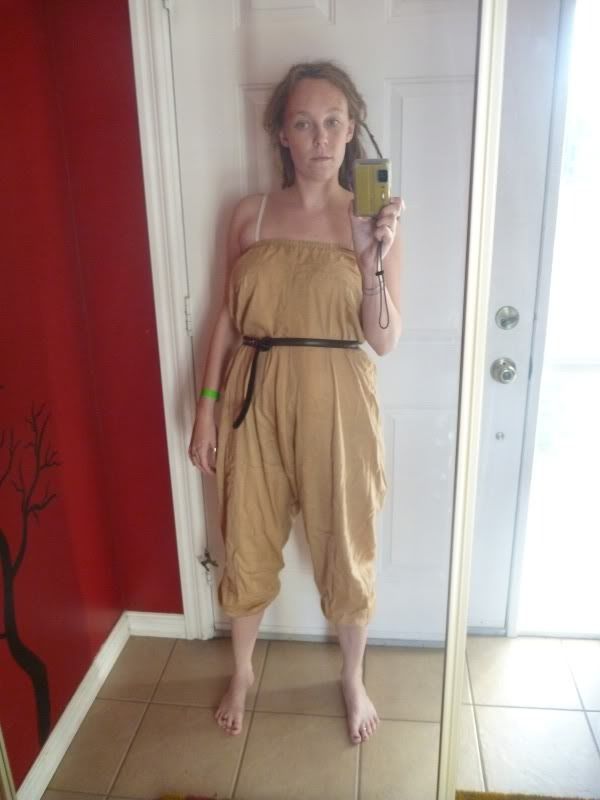
this pair i made for a friend of mine (they are pink - clearly not
for me!), and she is a couple of inches taller than me and about the
same around the waist, so i made them a little on the long side.
alright, shall we?
- these pants are fairly one-size fits all. they are also very easy
to adapt. i have included a rough pattern with measurements, and with my
ACTUAL body measurements to compare - you want them big, that's the
point!
- make sure to wash and dry your material before you start, you don't want it shrinking after!
- make sure to wash and dry your material before you start, you don't want it shrinking after!
you will need:
- material - i would recommend going to a second hand store and
buying a jersey knit sheet. for this pair, i used a twin sheet and had
leftovers. the upside with this is that a sheet is cheap and already has
a hem, which can save you time! if you are buying material that is NOT a
sheet, get at least 3 meters.
- scissors
- pins
- thread to match your material
- sewing machine
- pencil or chalk for marking material
*******************
first off, here is the pattern i drew up, and my actual measurements
for comparison (you'll be cutting two of these with the fold on the left
side):
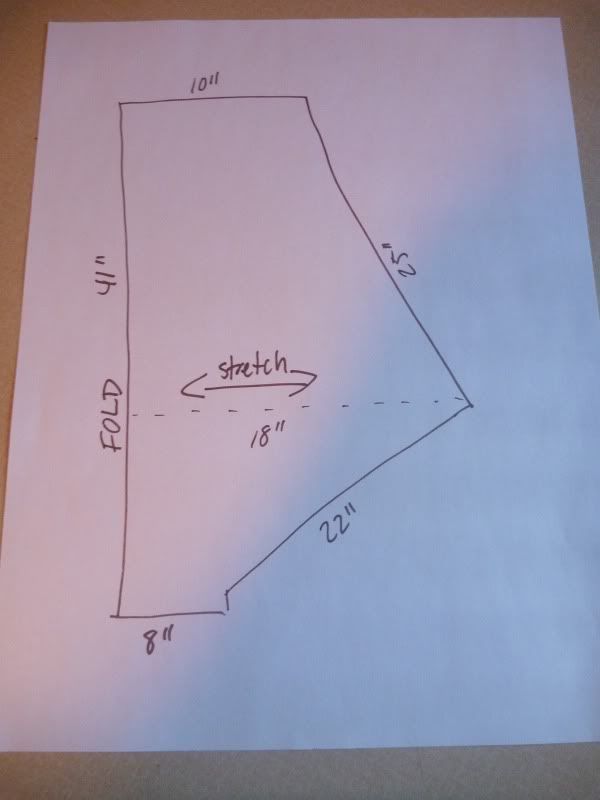
waist (where i want to wear the pants - hip level): me: 31" material : 40" elastic: 28 1/2"
cuffs (ankles): me: 12" pants: 16" elastic: 11"
legs (length from "waist" to ankle): me: 37 material: 41"
*******************
here we go!
so, first, take your washed, dried, preshrunk material

and make a fold that is 18 1/2" wide (18" plus a seam allowance,
since that's the widest point)
- with stretchy material i recommend
cutting the pieces separately because it avoids mistakes.
if you are
using a sheet, use the top of the sheet as the top of your pants - there
is already an elastic casing sewn in!!

and start measurements!
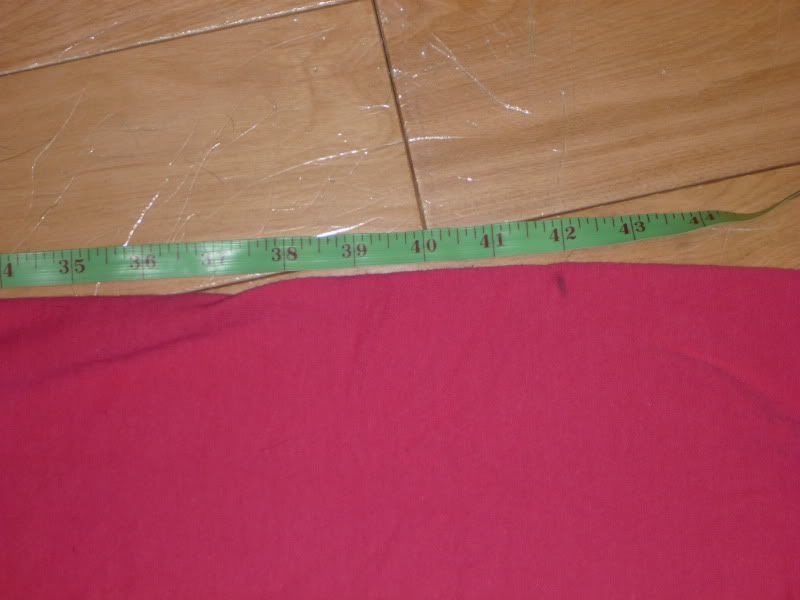
first, 42" (41" plus a seam allowance - leave more if the top of the material is not already hemmed!) down the fold
then 8 1/2" (8" plus seam allowance) in from there to make the cuff

then 10 1/2" in from the top of the fold (10" plus seam allowance) for the waist

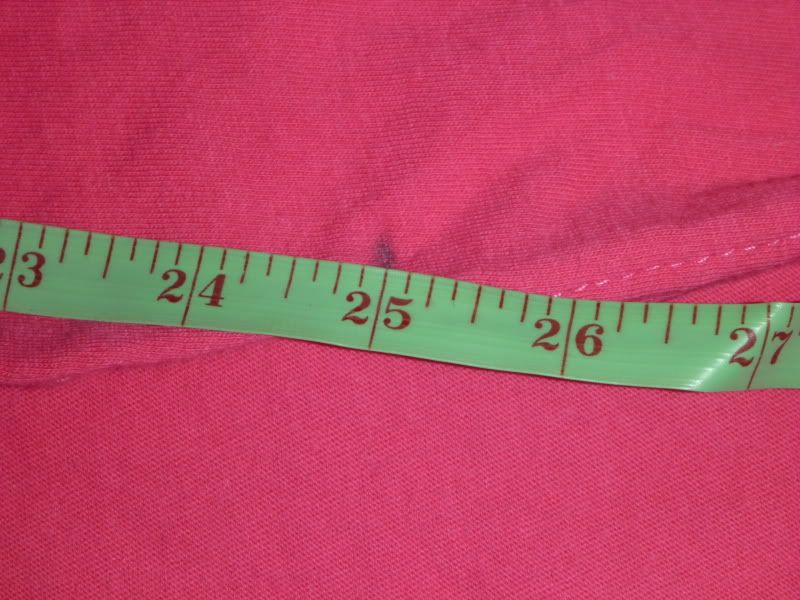
next, measure 25" from the waist mark, down to the edge of the
material. the easiest way to do this is to hold the 25" mark on the tape
measure at the waist mark, and swing the bottom until it hits the edge
of the material.
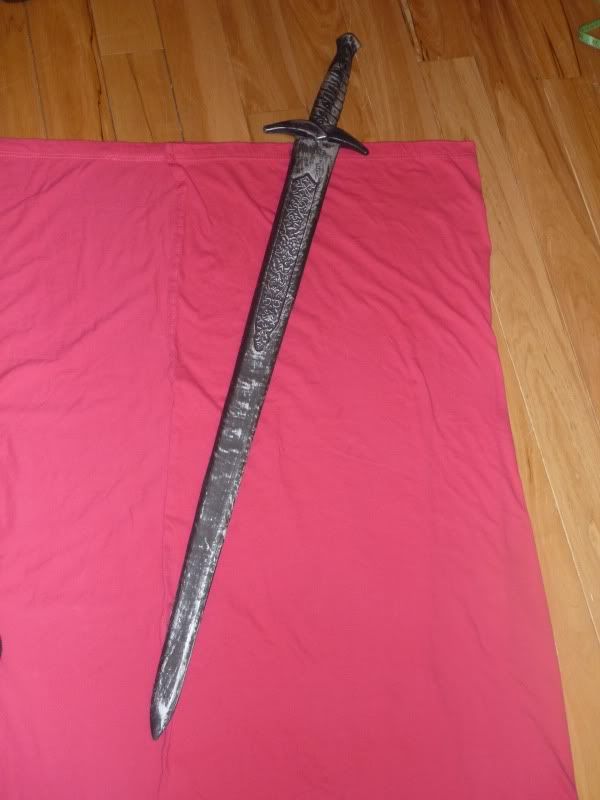
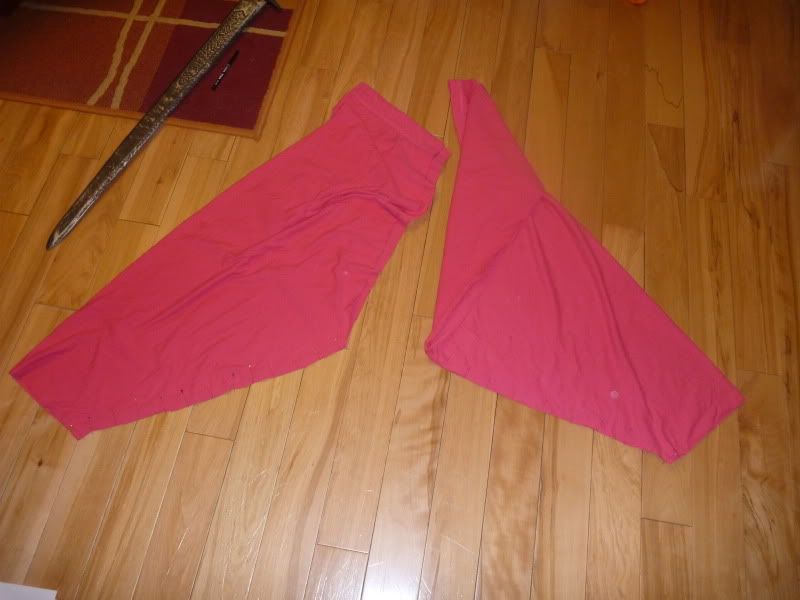
and use a straight edge to draw a line where you'll need to cut - you
can use your tape measure if it's rigid, i used a sword from an old
hallowe'en costume...
also draw a line from the end of the sword above, to the cuff. it will look like this:

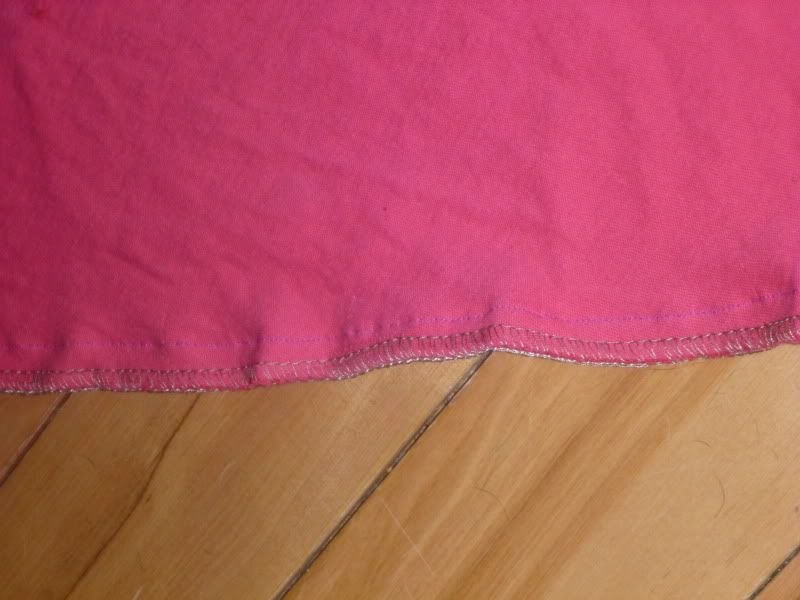
closeup of the cuff/leg part:

and cut it out!

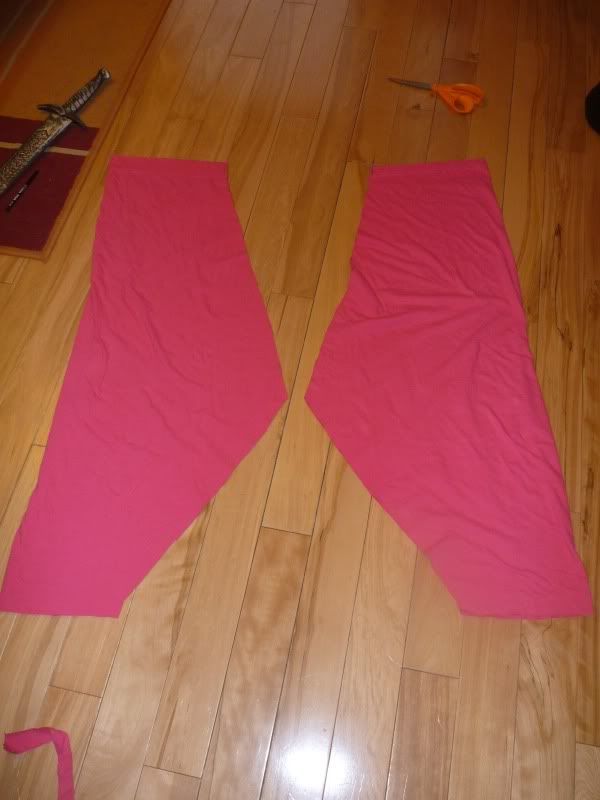
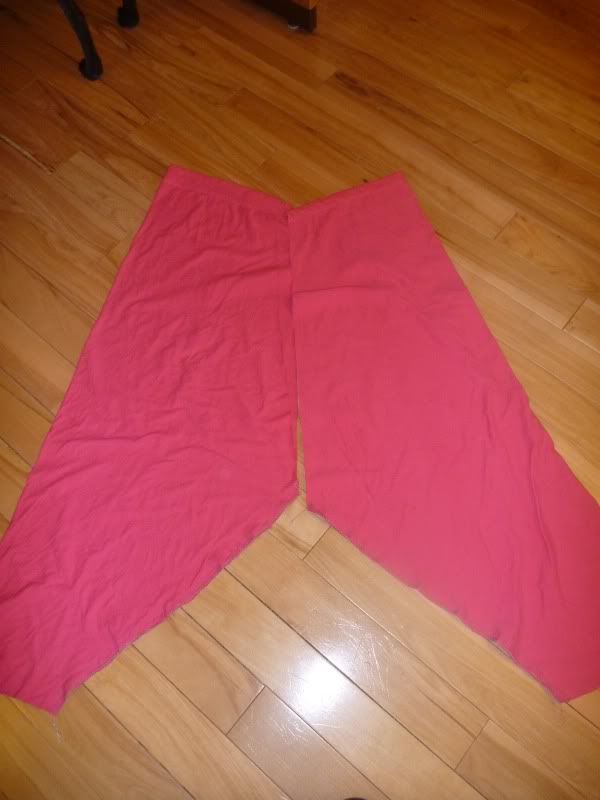
now cut a second pant leg. this is easiest to do by laying the first
one on top of your (folded as above) material, and cutting around!

so, now you've got both pant legs:
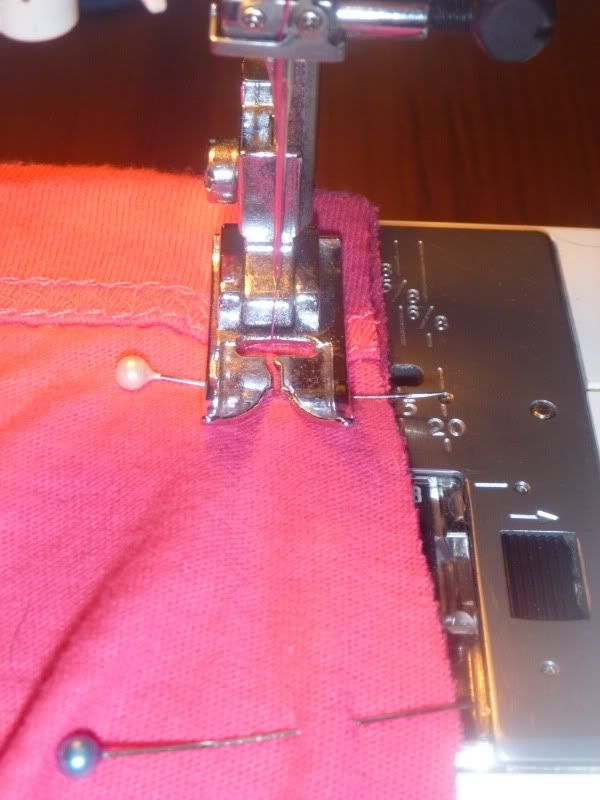
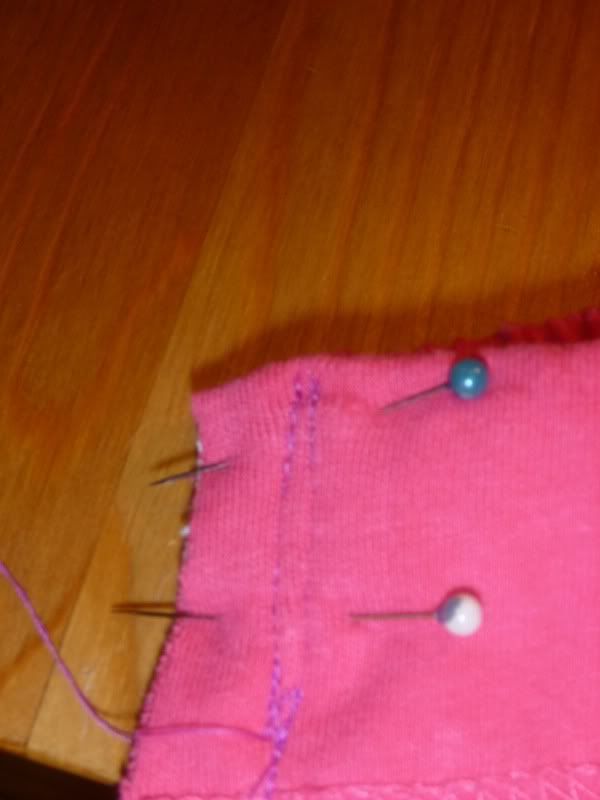
with the pant legs inside out (if your material is patterned, the pattern should be IN), pin the bottom leg seams together
and sew

double stitch or serge the seams
next, pin the two legs together
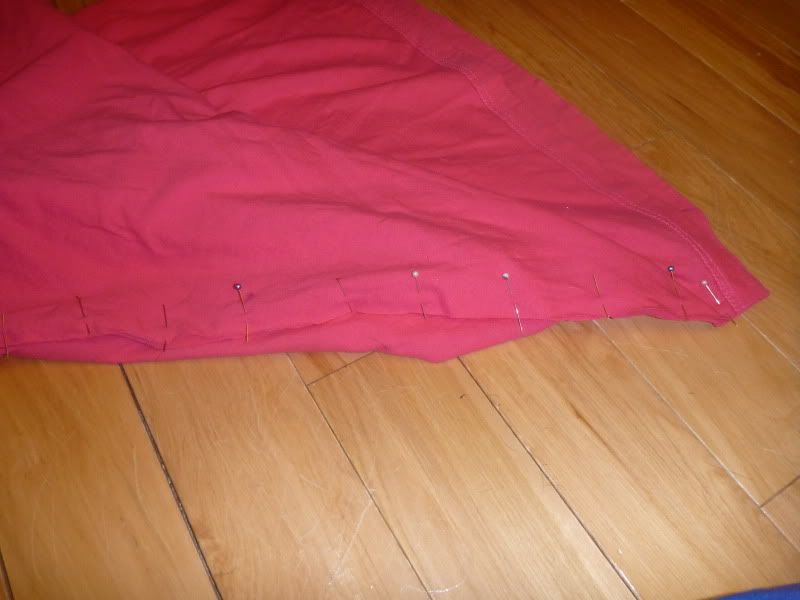
leave the top hem (which will be your elastic casing) unsewn
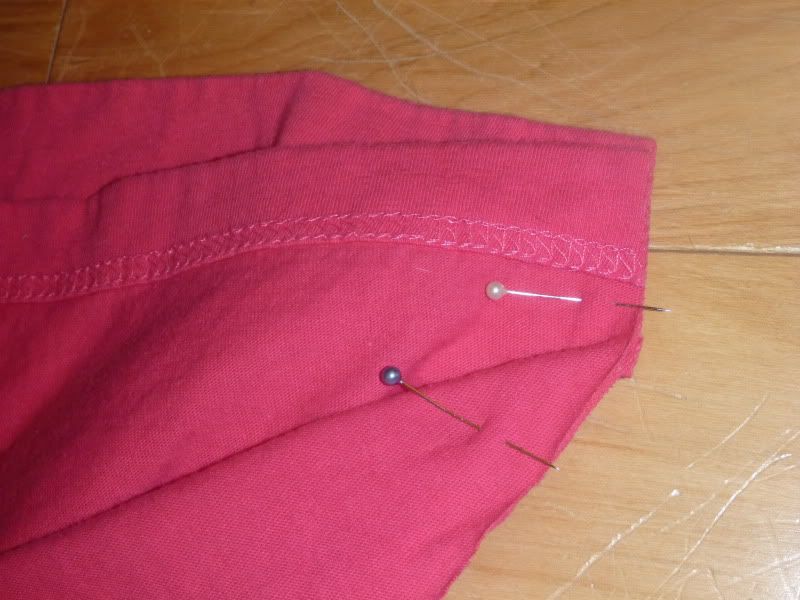
as you can see below, i started sewing just below the hem
holy crap! they're starting to look like pants you guys!

next, elastic!
i noted my measurements at the top of the post, but my legs are
really skinny... i would recommend just trying it out with the elastic
and seeing how it feels. you want it to be comfortable to wear mid-calf.
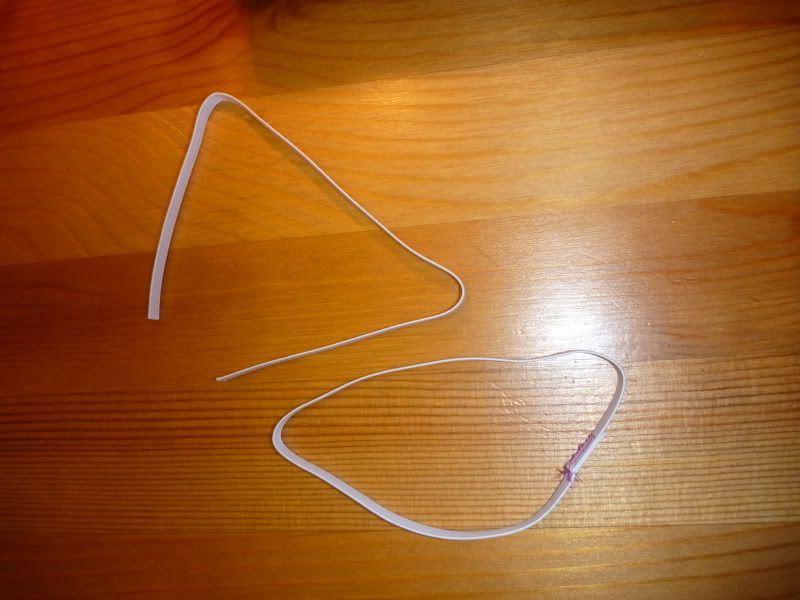
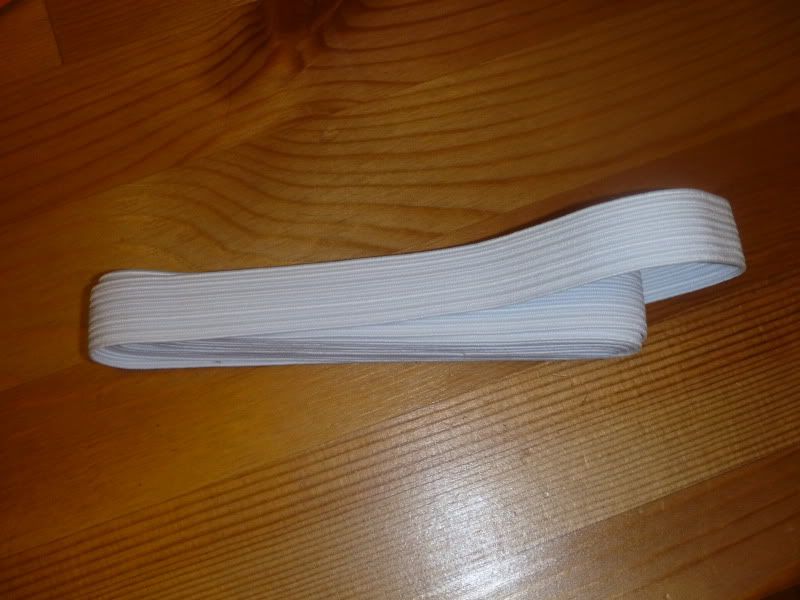
i used thinner elastic for the cuffs (about 1/2" wide)
cut 2, and stitch together into a loop (i usually stitch an x pattern on the overlap)
now, to install the leg elastics!
wrap an elastic around the cuff

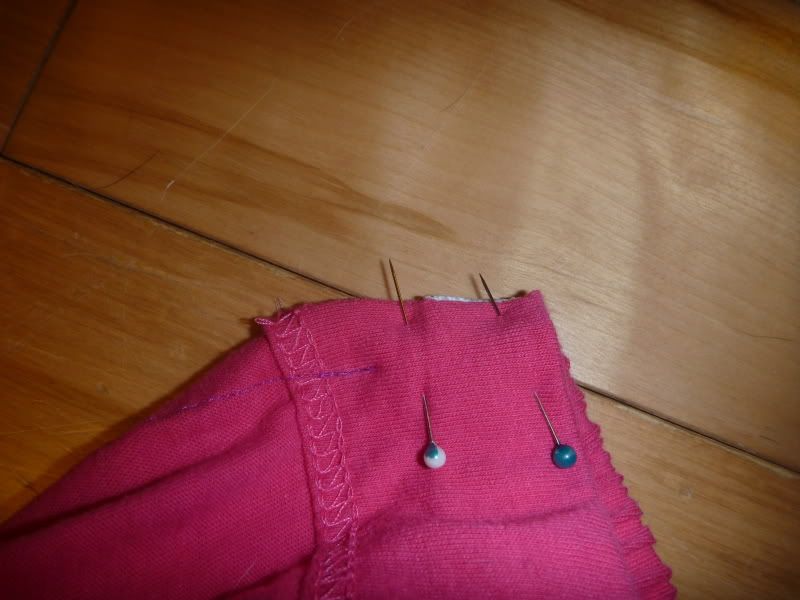
roll the material twice - so there's no unfinished edge showing, and pin. don't pin the elastic, just make a casing for it!
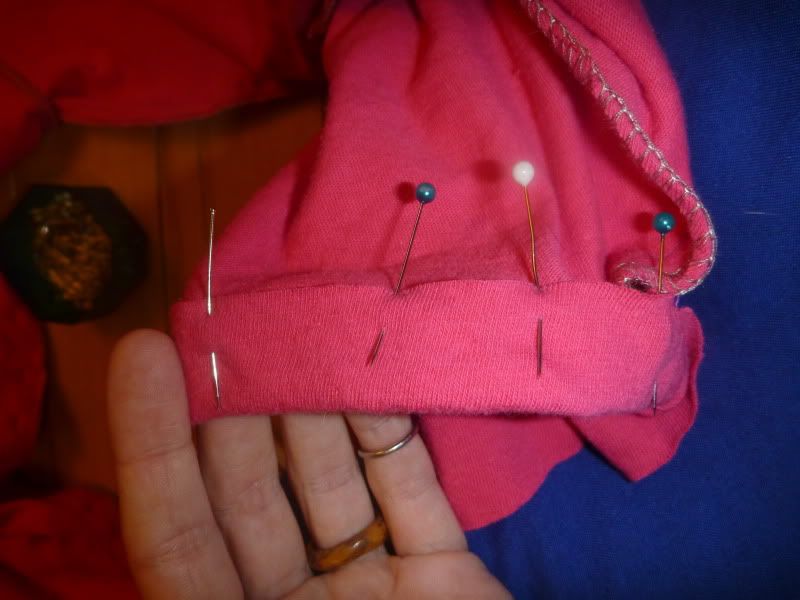
pin all the way around. if you are having trouble with the material
bunching, wrap the whole thing around a book to keep it in place!
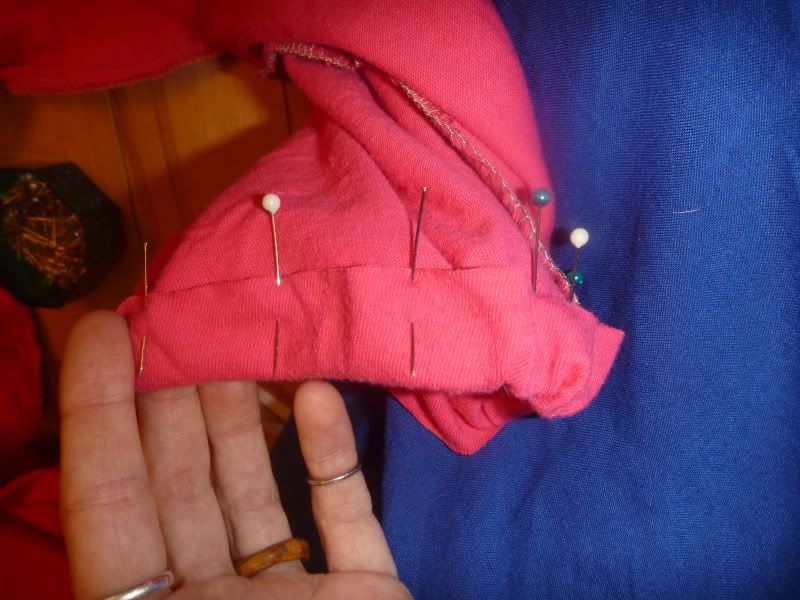
sew around the cuff, making sure to keep the material flat - you don't want to stitch it bunched up or it won't stretch well.

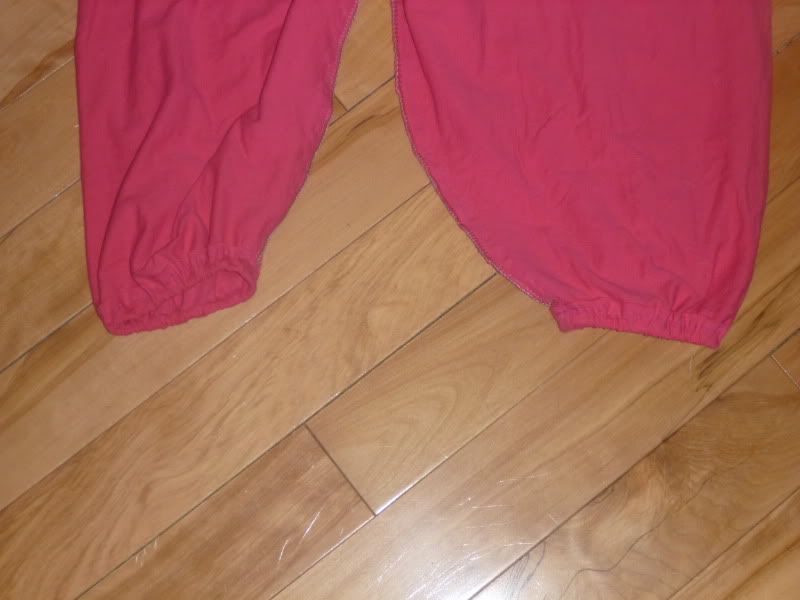
ta da! cuffs!
next, for the waistband. i chose slightly thicker elastic for the
waistband (about 1" wide). again you want to fit it to you so that it
will be comfortable. cut about 1" longer than you want so there is room
to overlap.
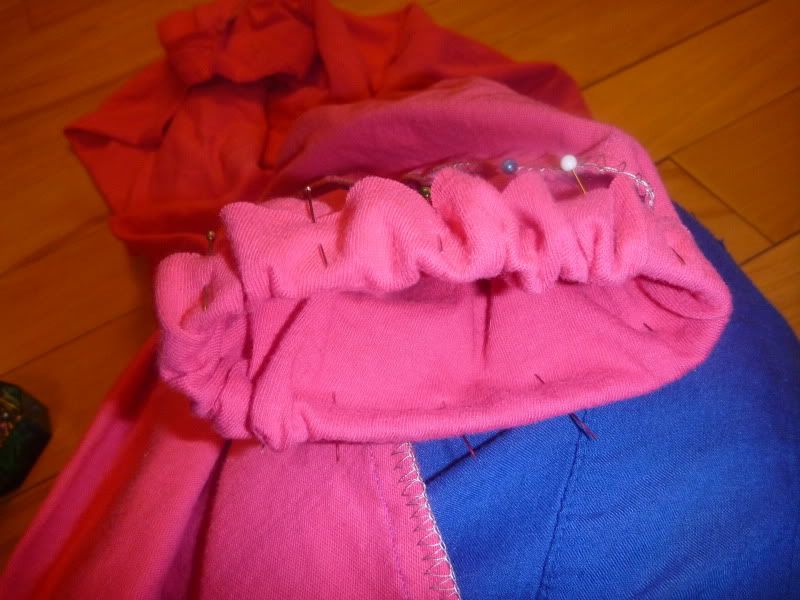
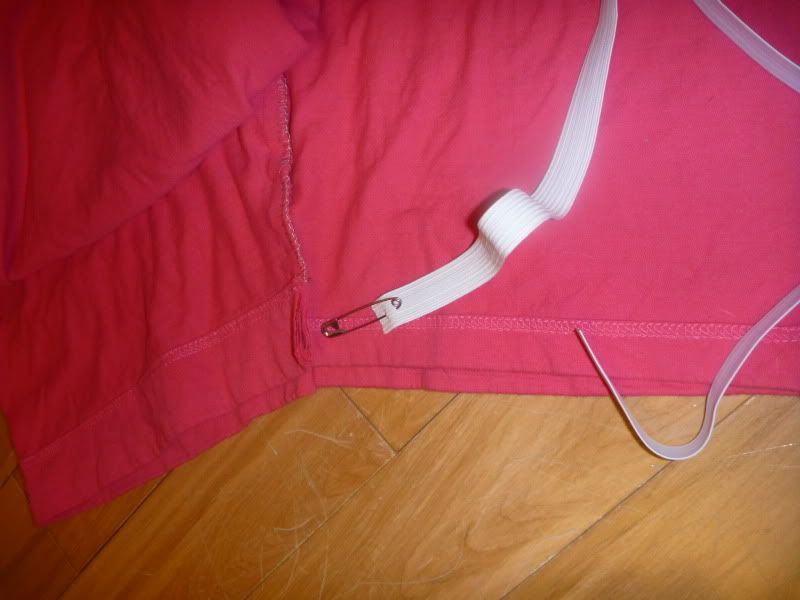
thread the elastic through the casing around the waist. the easiest
way to do this is to stick a huge safety pin through it and use that to
feed the elastic through.
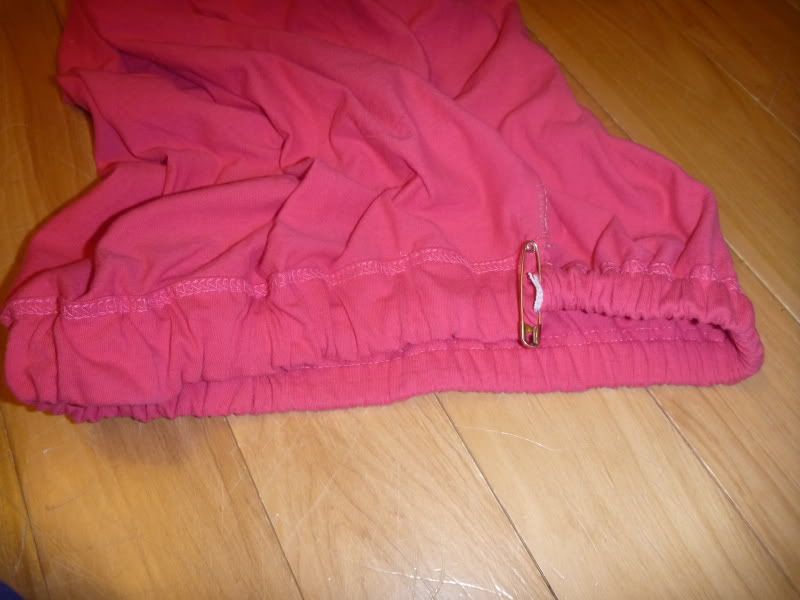
once it's fed through, pin the elastic closed and stretch everything out so that it's even.

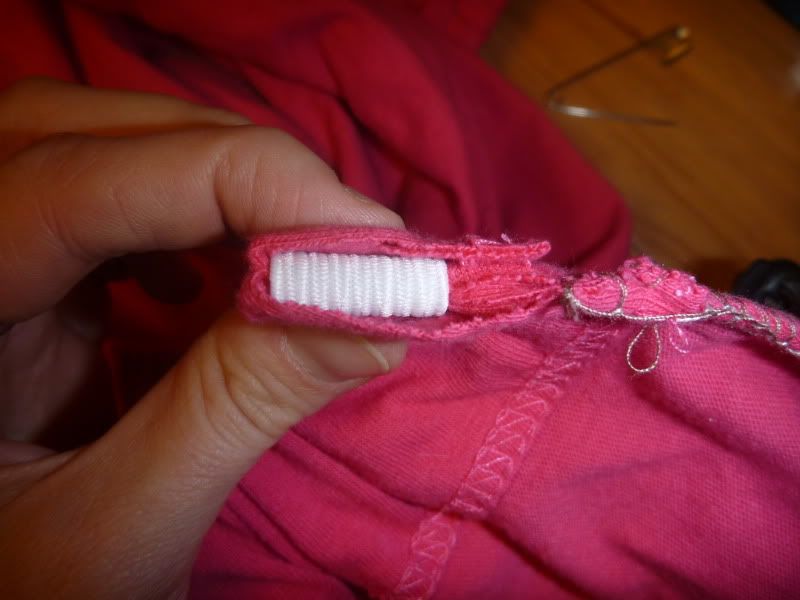
pin the elastic and the edges of the seam together. you want to sew
through both sides of the elastic as well as the material. before you
sew, make sure the elastic is flat all the way around - you don't want
it twisted in the casing!
do the same on the other side, folding the elastic
and sew! (double stitch!!)
pants!!

then, MAKE MORE!
PANTALOOOOOONS!!!
ReplyDelete